How to Prepare Your Android App for Google Play Closed Testing
A closed test runs on a fixed clock, and preparation problems are the most expensive way to spend it. This walks through the build, Play Console setup, tester access and sign-in details to settle before you invite anyone.
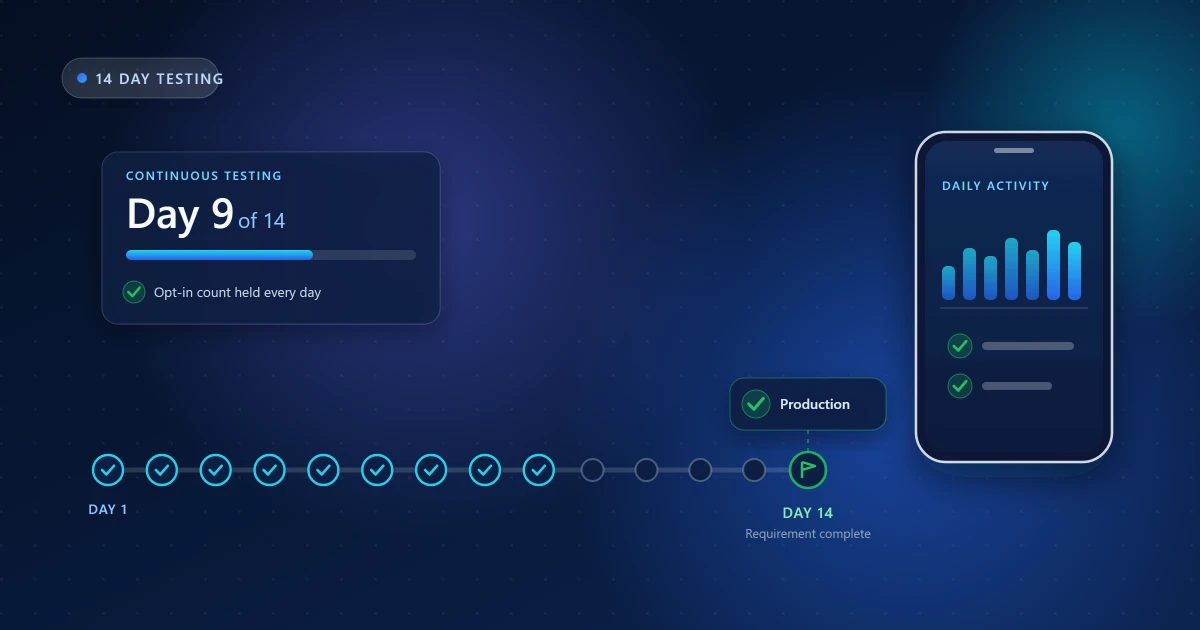
A closed test runs on a fixed clock. Every day lost to a build that crashes on launch, a tester who cannot install, or a sign-in flow nobody can get past is a day the requirement is not progressing.
Preparation is the cheapest part of the whole process and the part most often skipped. This guide covers what to settle before you send a single invitation.
1. Ship a real release build
Closed testing distributes through Google Play, so you need a signed Android App Bundle, not a debug APK. Release builds behave differently from debug builds in ways that only appear once real users install them.
- Test the release build yourself first, on a physical device, installed the way testers will install it. Code shrinking and obfuscation break things that worked perfectly in debug.
- Check your version code and leave yourself room to increment it during the round — you will almost certainly ship a fix.
- Confirm it opens. A crash on first launch is the single most costly defect at this stage.
The Play App Signing trap
This one deserves its own warning. When Play App Signing is enabled, Google re-signs your bundle, so the certificate fingerprint that reaches production is not your upload key's. Anything keyed to a signing fingerprint — Google Sign-In, Maps, Firebase, some APIs — must use the app signing certificate fingerprints shown in Play Console under Setup → App integrity.
Miss this and you get the classic failure: sign-in works flawlessly on your machine and fails for every single tester. Copy the SHA-1 and SHA-256 from Play Console into your Google Cloud OAuth client and Firebase project before the round starts.
2. Complete the listing requirements
Even a private test needs a surprising amount of your store presence finished. Play will not let the release go live otherwise:
- App name, short description and full description
- App icon, feature graphic and phone screenshots
- Content rating questionnaire completed
- Data safety form completed and consistent with what the app actually collects
- A working privacy policy URL — live, reachable, and matching the data-safety declarations
- Target audience, ads declaration and contact details
The data-safety form is worth care rather than speed. It is reviewed, it must match your app's real behaviour including third-party SDKs, and inconsistencies here surface later as review problems rather than testing problems.
3. Set up the closed track properly
In Play Console, create a closed-testing track and upload your bundle. Then handle the three things that decide whether testers can actually install:
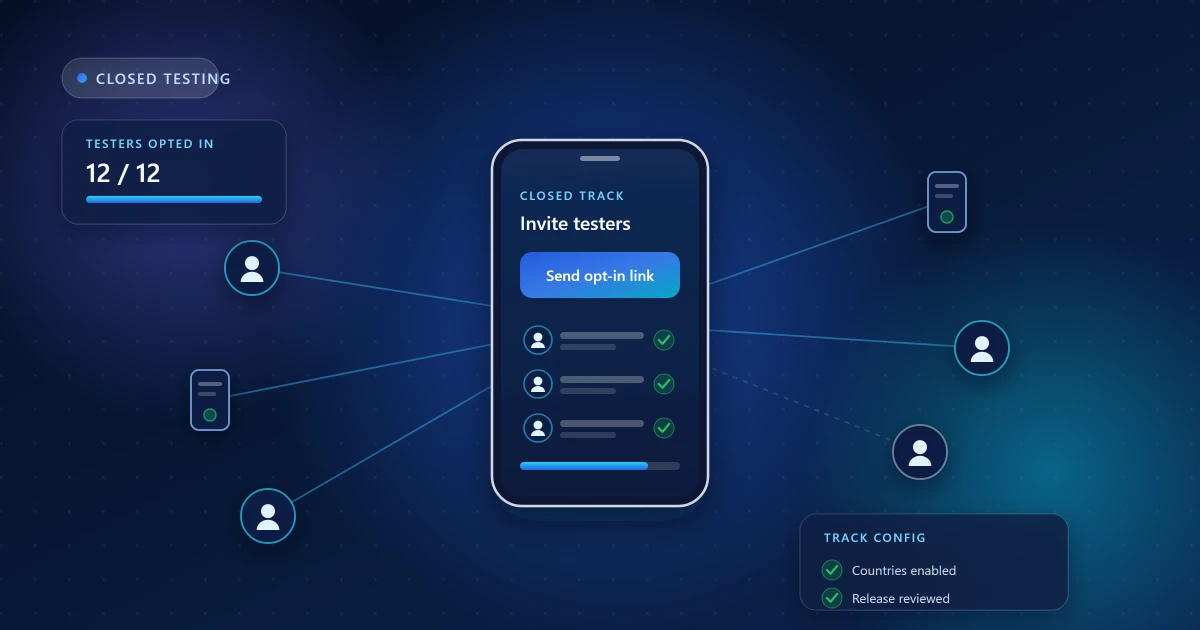
- Tester list. An email list or a Google Group. A Group is easier to manage if the roster will change.
- Country availability. The track must be available in the countries your testers are in. If it is not, the listing simply does not exist for them — with no useful error message.
- Publish and wait. Closed-testing releases are reviewed. Usually hours, sometimes a couple of days. Nothing starts until this clears.
Once it is live, copy the opt-in link. Adding an email address does not invite anyone; the link is the invitation.
App access instructions
If any part of your app sits behind a login, fill in the App access section with working demo credentials and step-by-step instructions. Reviewers who cannot get past your sign-in screen cannot review what is behind it, and this is a genuinely common cause of avoidable rejections.
4. Decide how testers get through sign-in
Authentication is where testing rounds stall. Work out the path before testers arrive:
- Google Sign-In: fingerprints configured as above; verify in a release build, not a debug one.
- Email and password: registration must work end to end, including verification emails. Check that your sending domain is not landing in spam.
- Phone/OTP: confirm your SMS provider covers the countries your testers are in, and that you have quota for a fortnight of real signups.
- Mandatory profile setup: perfectly fine, but every required step is a wall your testers must clear before they can reach anything else. Make sure each one works.
5. Check your backend can take it
Testers generate real traffic against whatever your release build points at. Confirm:
- The API base URL is production, not a local or staging address baked into the build
- Analytics, crash reporting and push credentials are the production ones
- Free-tier quotas can absorb two weeks of daily use from your tester group
- Your server is not going to be restarted or migrated mid-window
6. Use the pre-launch report
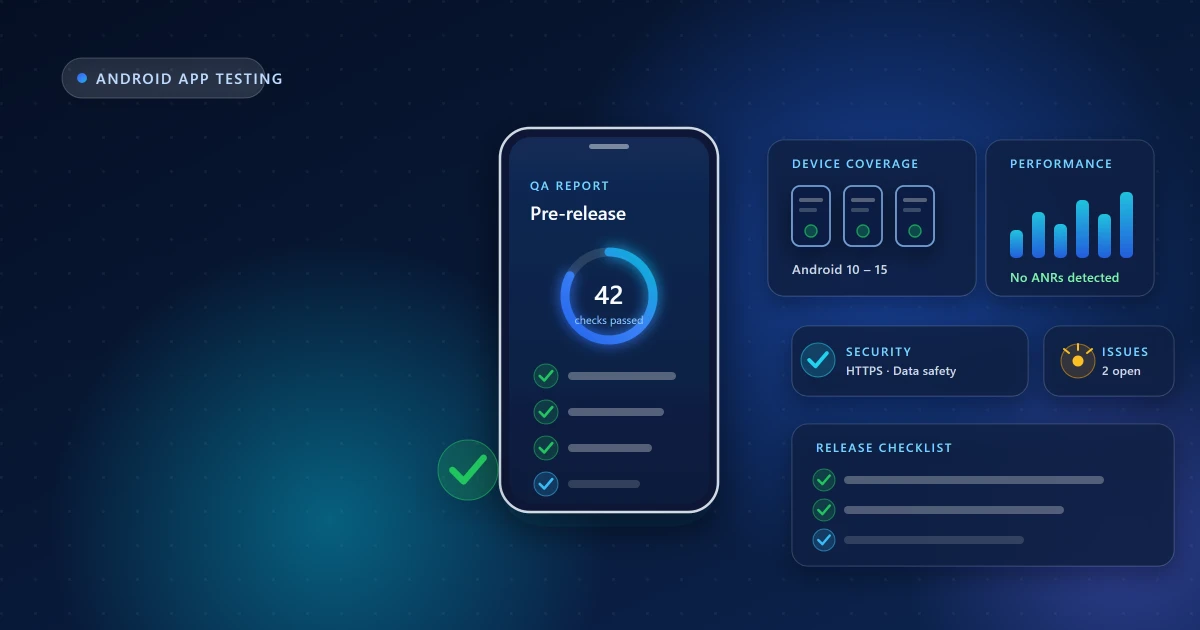
Once a build is on a testing track, Play Console generates a pre-launch report: Google runs your app automatically on a set of real devices and reports crashes, stability issues, accessibility problems, and security or performance warnings.
It is free, it runs before a human tester ever opens the app, and it routinely catches launch-blocking issues on device configurations you do not own. Read it before you send invitations, not after.
Before you invite testers
A short pre-flight list. If every line is true, your round starts clean:
- Signed release AAB installed and opened successfully on a physical device
- Play App Signing fingerprints added to Google Cloud / Firebase; Google Sign-In verified in the release build
- Store listing, content rating, data safety and privacy policy complete and consistent
- Closed-testing track created, bundle uploaded, release reviewed and live
- Tester list added and the countries your testers live in are available
- Opt-in link copied and ready to send
- App access demo credentials and instructions filled in
- Sign-up, sign-in and any mandatory profile setup completed end to end on a clean device
- Backend on production configuration with headroom for two weeks of traffic
- Pre-launch report reviewed and blocking issues fixed
- You know what feedback you want and have written the questions down
Google Play requirements and Play Console eligibility rules may change. Always confirm the exact testing requirement displayed in your own Play Console account before planning a round.
Frequently asked questions
Can I change the app during the testing period?
Yes, and you generally should. Uploading fixes to the closed track during the window is normal and does not restart the period, provided testers stay opted in.
Do I need screenshots for a closed test?
Yes — the store listing requirements apply before the release can go live, even though the listing is not public.
How long does the review of a testing release take?
Commonly hours to a couple of days. Build it into your timeline rather than assuming the window starts the moment you press publish.
What if some testers still cannot install?
Check three things in order: did they accept the opt-in link, did they use the exact account you invited, and is their country available on the track. That covers the large majority of cases.
Related guides
New to the requirement itself? Start with closed testing explained. Ready to run the round? Follow the 14-day process guide. And run the pre-release testing checklist over your build before testers see it.
If you would rather not recruit and manage a tester group yourself, that is exactly what our closed-testing service handles — including setup assistance on the Premium package.
Need Help With Your Closed Testing Round?
Get real Android testers, structured testing support, and guidance throughout your testing period.
Android App Test is an independent testing service and is not affiliated with or endorsed by Google. Google Play requirements and Play Console eligibility rules may change — always confirm the exact testing requirement displayed in your own Play Console account.